Bed Adhesion Mastery: Clean Plates, First-Layer Settings, and Plate Selection (Production Tips)
Bed Adhesion Mastery: Clean Plates, First-Layer Settings, and Plate Selection (Production Tips)
Bed adhesion problems are rarely “mystery printer gremlins.” They’re usually process problems: a plate that isn’t actually clean, a first layer that isn’t actually consistent, or a build surface that doesn’t match the material and geometry.
At JCSFY we run a Large-Scale Production 3D Print Farm with 85+ printers. When adhesion fails in a fleet, it doesn’t fail once—it fails 20 times, and it burns an entire shift. That’s why we treat adhesion like a system: cleaning standards, plate selection rules, and fast diagnostics that don’t depend on “the one operator who’s good at first layers.”
Start here: why parts lift (the short list)
If you can only remember five causes of poor adhesion, remember these:
- Plate contamination: skin oils, dust, adhesive residue, and “looks clean” plates.
- Incorrect first-layer squish: too high = gaps and peel; too low = over-squish and curling/elephant foot.
- Wrong plate for the material: smooth vs textured vs specialized surfaces.
- Thermal stress: drafts, poor enclosure control, or bed temps that don’t match the polymer.
- Geometry stress: sharp corners, long thin parts, uneven wall thickness, or too little contact area.
Rule #1 (the one farms live by): plate handling and cleaning must be consistent
Most adhesion failures are preventable. The problem is inconsistency: different operators clean differently, different plates get treated differently, and suddenly “adhesion is random.” It’s not random—the process is.
One important example from our shop: we use BIQU Frostbyte plates, and they cannot have alcohol on them. They have a coating. For those plates, cleaning is soap and water only.
Our practical plate workflow (what we actually do)
- We don’t wash every plate every print: that’s not realistic at volume. We watch for “tricky” jobs and failures that signal the plate needs a reset.
- We keep a pile of clean plates ready: when a job is adhesion-sensitive, we swap to a known-clean plate instead of trying to “save” a questionable one.
- Full reset (soap + water): when adhesion starts getting inconsistent, or when the plate has visible residue. Rinse thoroughly and let it dry before use.
- Retire plates when they’re damaged: if the surface is chipped or scarred, it stops being predictable—and predictability is the whole point.
BIQU’s frosted plate care guidance also aligns with this general direction: keep the surface clean and use soap/water as needed (see external reference below).
Pro tip: plates chip if you aren’t careful. We’ve ruined plates by using dull blades/cutters to pry stubborn prints/supports off the surface. If you need a tool, keep it sharp and use it gently—or change the process (better first layer + correct plate) so you don’t need to pry.
Rule #2: pick the correct plate for the job (smooth vs textured isn’t aesthetic)
In high-mix production, your plate choice is part of the process spec. A few practical guidelines:
- Smooth plates: great when you want a clean bottom finish and predictable contact. They’re also more sensitive to oils.
- Textured plates: increase mechanical grip and can be more forgiving for certain materials, but they’ll transfer texture to the bottom face.
- Material-specific surfaces: some polymers (and some part geometries) behave best on a dedicated surface and temperature window.
Our farm rule of thumb:
- PLA: BIQU Frostbyte plates (excellent grip when clean).
- PETG and ASA: the default PEI plates that ship with most printers.
If you’re choosing materials for a product and you care about reliability, treat the build surface as part of the material system. Our material types page is a good starting point for matching polymer families to real-world use cases.
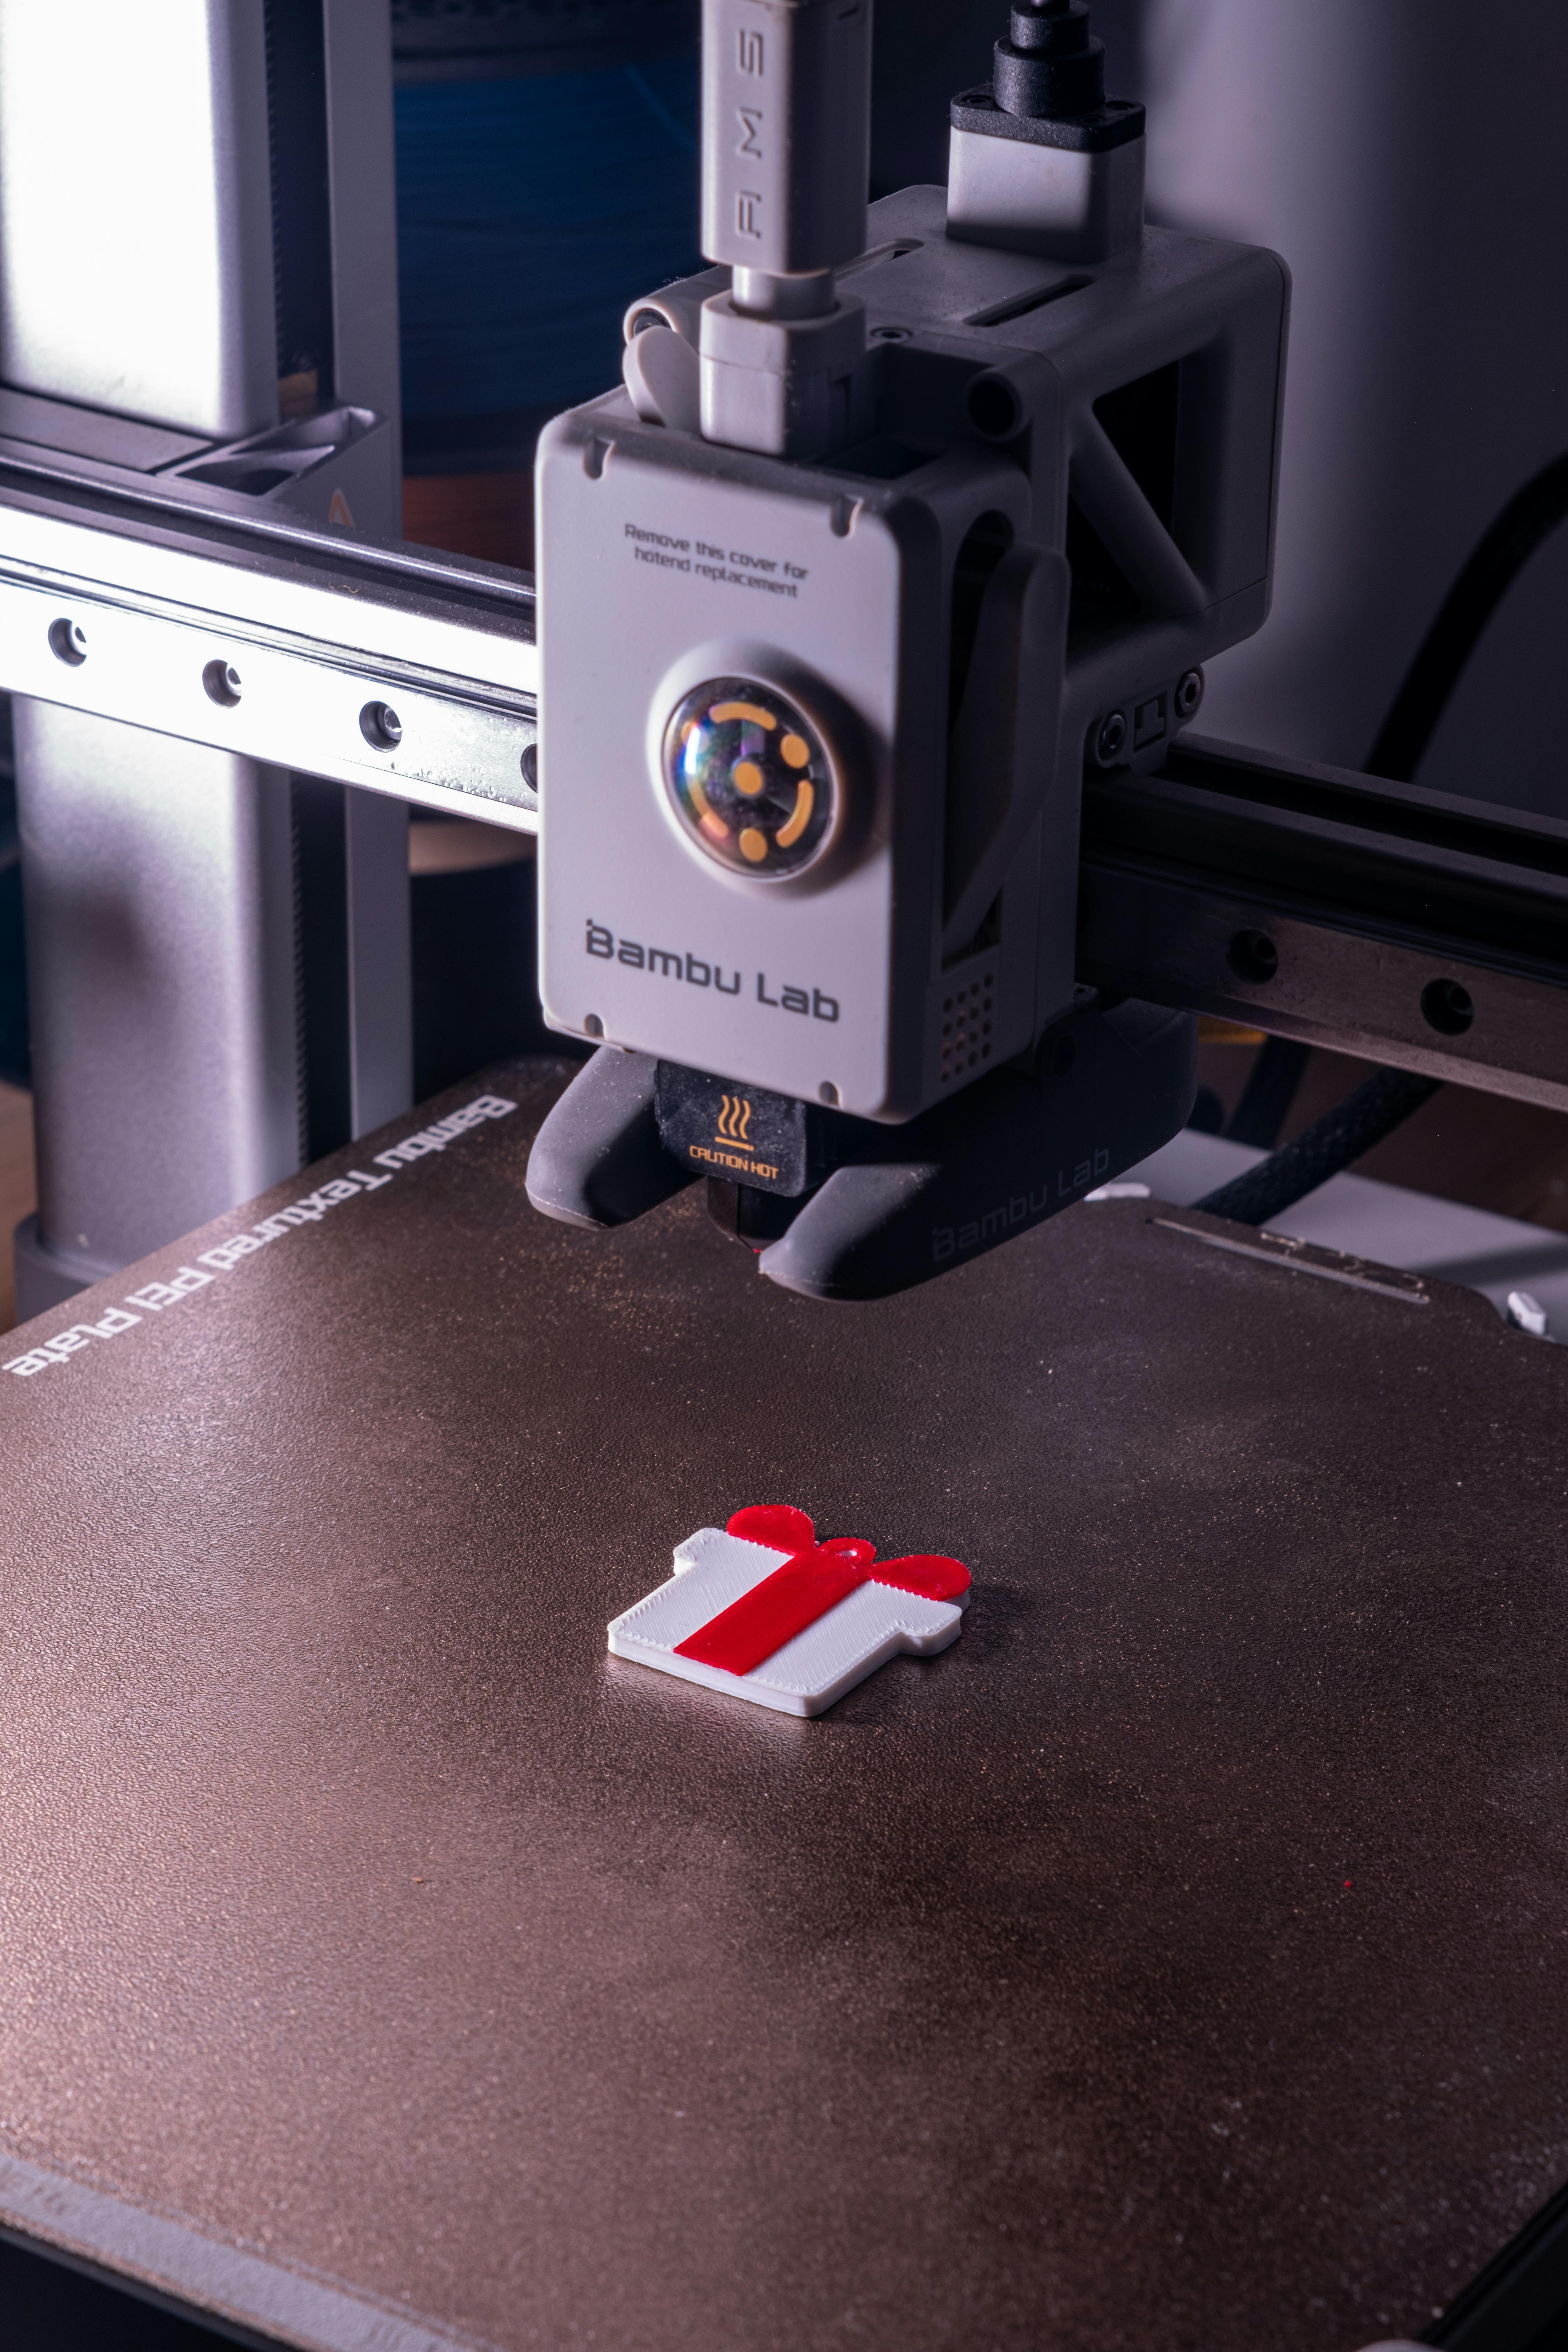
First-layer fundamentals (what “good” actually looks like)
Adhesion is decided early. In production, we treat the first layer like a gate: if it’s not right, you stop immediately. A “maybe it’ll stick” first layer is how you lose hours.
Visual pass/fail checks
- Lines touch and fuse: no gaps between adjacent lines.
- Uniform texture: consistent sheen/texture across the part footprint.
- No dragging: the nozzle shouldn’t plow ridges that curl up behind it.
- Corners stay down: early corner lift is an alarm bell, not “normal.”
The three settings that move adhesion the most
- Z offset / first-layer height: the most common root cause. If you’re too high, adhesion fails; if you’re too low, you create stress and curling.
- First-layer speed: slow the first layer down. Production success beats theoretical throughput.
- First-layer temperature: bed temp and nozzle temp must match the material’s needs, especially for larger parts.
Geometry tricks that prevent lift (before you touch settings)
Some parts are simply “lift-prone.” If you can edit the design, these changes often pay for themselves:
- Add fillets to sharp corners: corners concentrate stress and are the first place to peel.
- Add a brim or sacrificial ears: increase contact area without changing the functional geometry.
- Break large flat parts into sections: a single big flat plate is a warping machine.
- Increase uniformity: uneven wall thickness causes uneven cooling and uneven stress.
When the “adhesion fix” is actually a warping fix
Sometimes the part is sticking fine, but warping is strong enough to rip it free. That’s common with big flat footprints and higher-temp polymers. In those cases:
- Control drafts: even small airflow changes can trigger corner lift.
- Use enclosures intentionally: stable ambient temps reduce thermal gradients.
- Choose a different polymer: if the use case allows, a less warpy material can be the cheapest fix.
Production reality: standardize the workflow, not just the settings
In a fleet, adhesion problems usually show up as “random.” They’re not random—variation is just hiding in the workflow. Common sources:
- Different cleaning habits between operators
- Different “first-layer standards” (one operator accepts what another rejects)
- Different plate assignments (someone grabbed the wrong plate for the polymer)
- Different maintenance discipline (worn nozzles, damaged plates, dirty build chambers)
This is why we push process discipline and automation in our print farm management tips and automation pillar: consistency is how you buy reliability.
And it’s also why we document our broader QC approach publicly—adhesion is one of the biggest “silent” quality risks in production because a bad first layer can turn into warped parts, dimensional drift, or cosmetic defects. If you want to see how we formalize accept/rework/reprint decisions, read Quality Control in a 3D Print Farm.
A fast troubleshooting sequence (what we do when a job lifts)
When a part lifts, the fastest path to a fix is to eliminate variables in a consistent order:
- Step 1: stop the job early (don’t waste hours).
- Step 2: swap to a known-clean plate (we keep a pile ready) and confirm correct plate selection for the material.
- Step 3: rerun a small first-layer test tile or a known-good adhesion coupon.
- Step 4: adjust first-layer Z/height and speed before touching exotic settings.
- Step 5: address warping drivers (enclosure, bed temp, brims/ears, orientation).
The goal is to avoid “random tweaks” that don’t teach you anything.
Need parts that stick, finish, and ship consistently?
If your job is lift-prone (large flats, tight tolerances, customer-facing parts), we can help you choose the right material + surface + process so it runs reliably. That’s the kind of work we do every day in a Large-Scale Production 3D Print Farm that’s built for repeatability.
Send your files through our intake form or get an instant quote for your next run.
External references
- BIQU (for Frostbyte/Frostbite plate info and care guidance)