Cost Drivers in 3D Printing Quotes: How to Optimize Your Part (Without Guessing)
Cost Drivers in 3D Printing Quotes: How to Optimize Your Part (Without Guessing)
If you’ve ever gotten two wildly different 3D printing quotes for “the same” part, it usually isn’t because someone is trying to rip you off. It’s because the quote is really pricing a process: how long the machine is tied up, how much risk is in the job, how much labor happens after the print, and how repeatable the outcome will be.
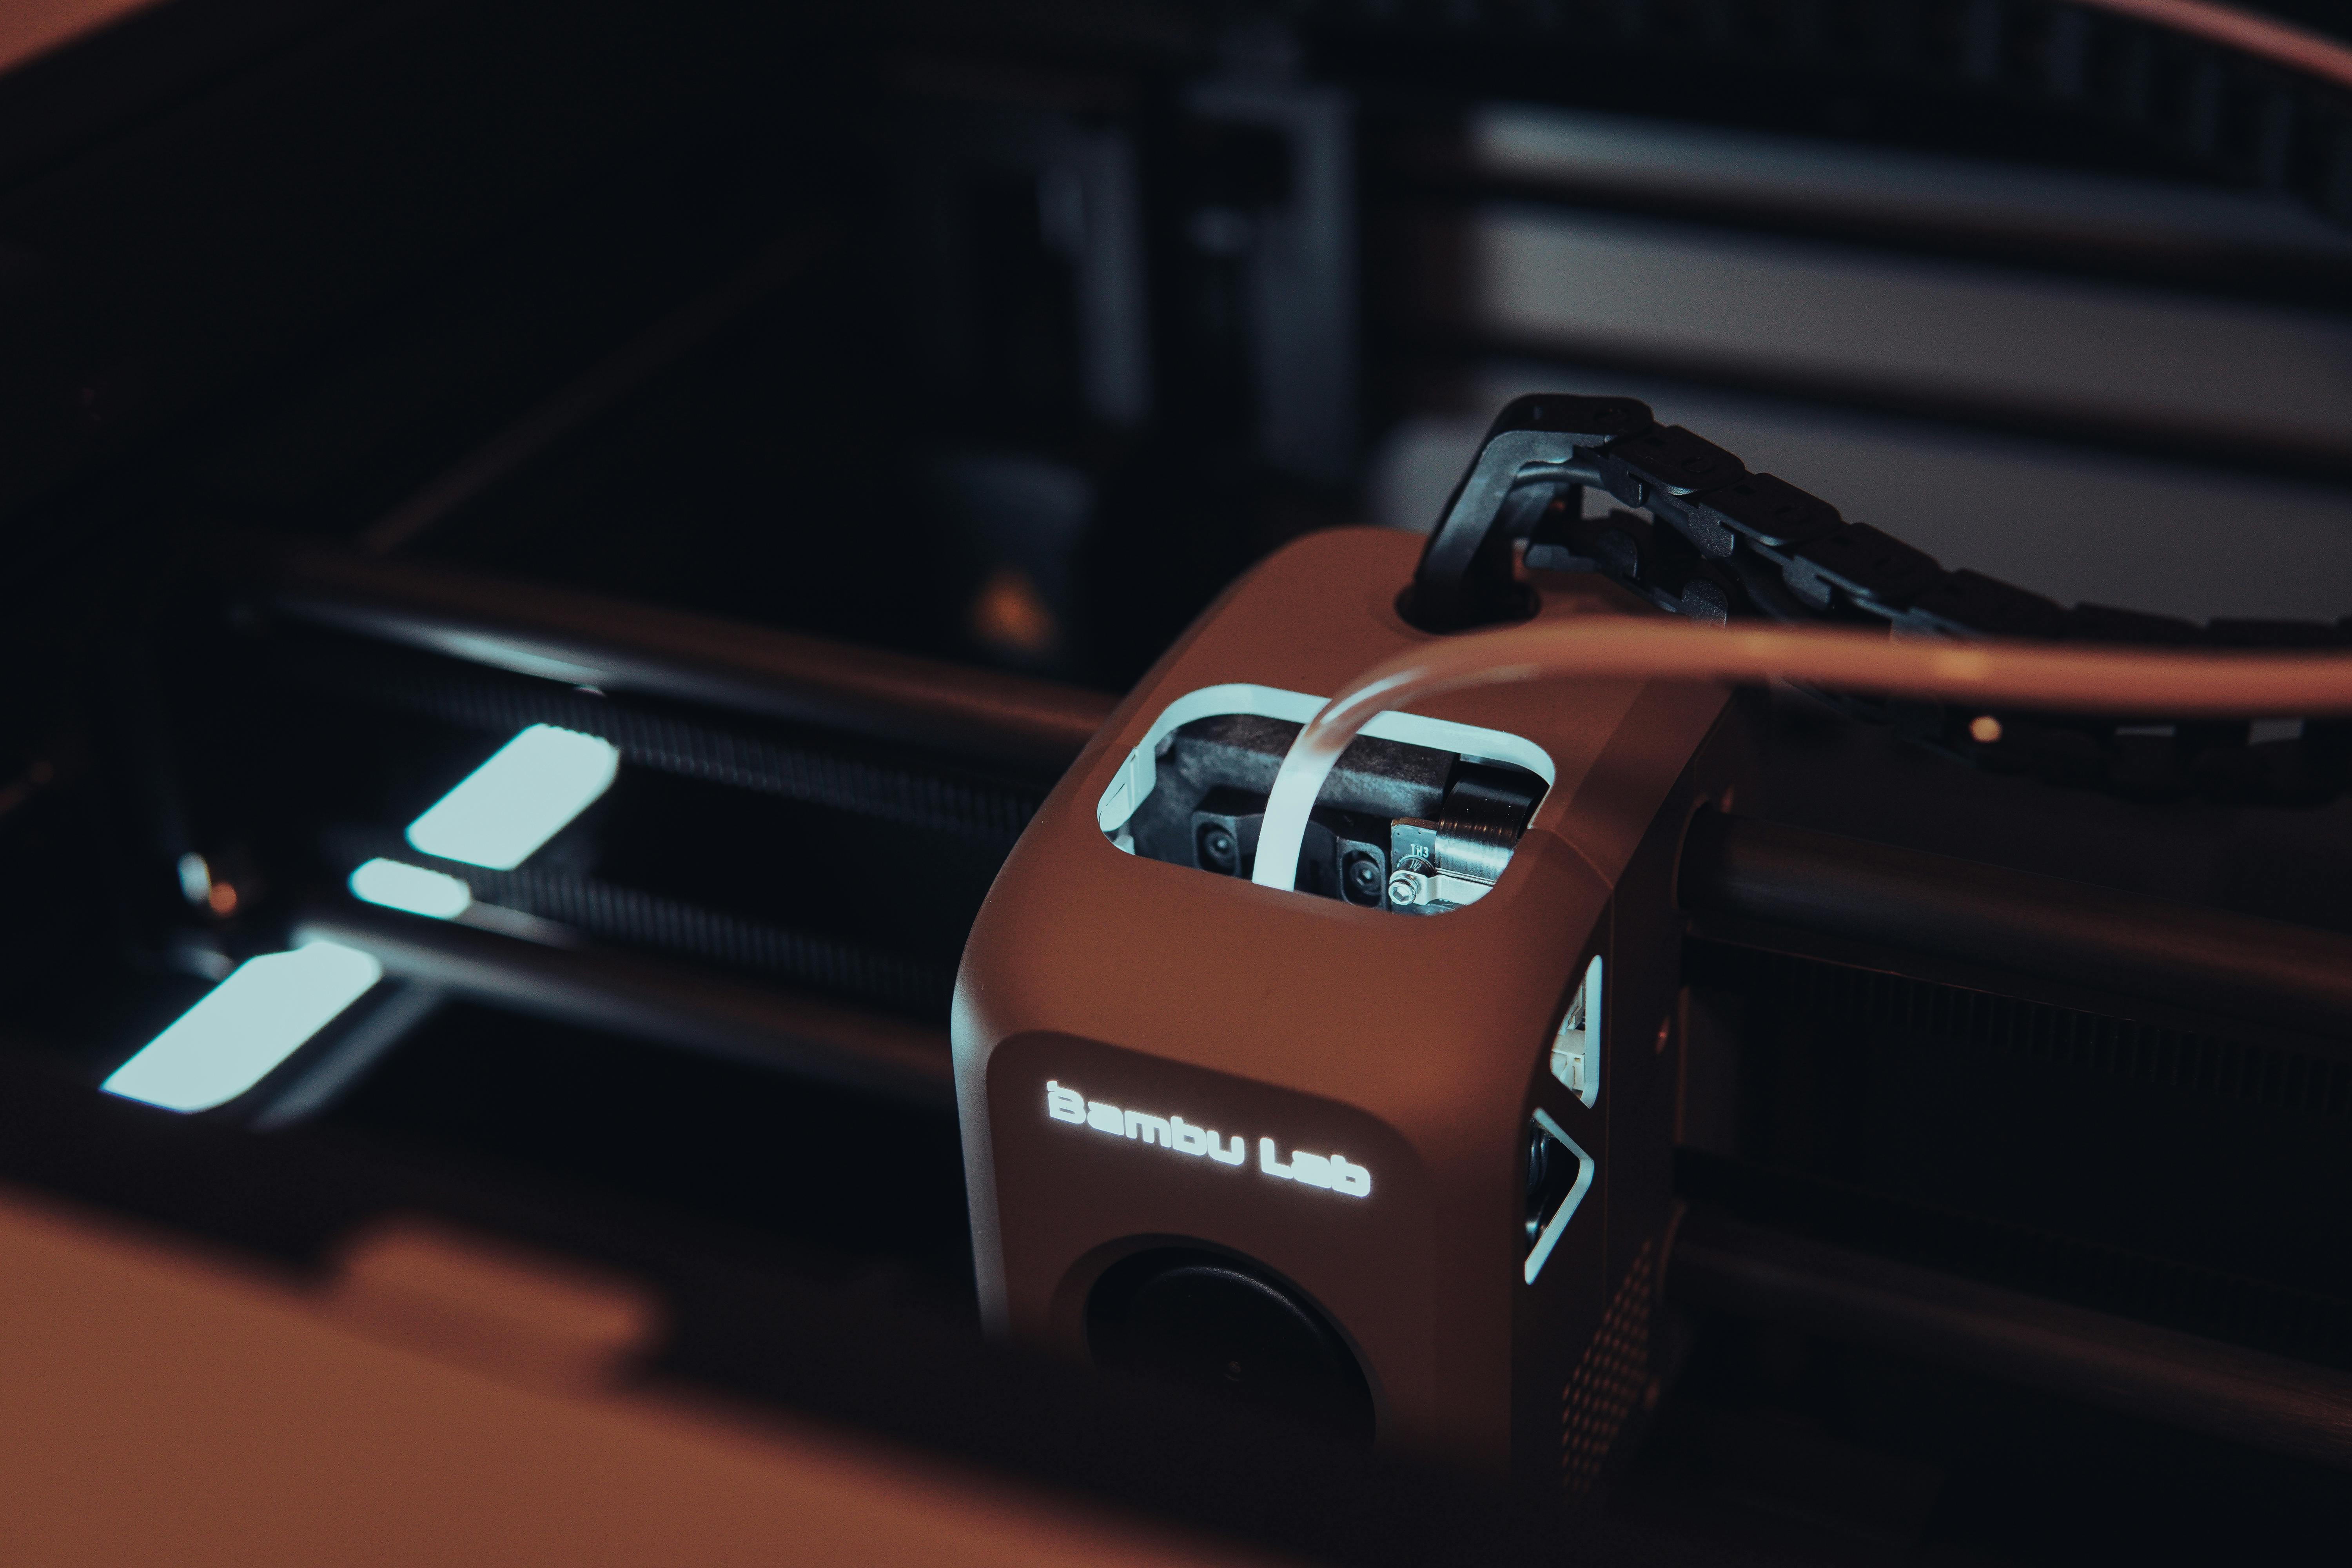
At JCSFY, we run a Large-Scale Production 3D Print Farm with 85+ high-speed printers. That scale forces you to get honest about what costs money in real production. This post breaks down the biggest cost drivers we see, and the design changes that typically reduce cost without turning the part into something else.
How to read a quote like a production person
A useful way to think about price is “machine time + material + labor + risk.” Different shops weigh those buckets differently, but the underlying drivers are consistent:
- How long does it take? (print time and throughput)
- How annoying is it? (supports, failures, tricky geometry)
- What happens after the print? (finishing, assembly, packaging)
- How strict is the spec? (tolerances, cosmetics, inspection)
- How repeatable is it? (process control and reorders)
If you’re building out your own operation, this is also where process discipline matters—good quoting depends on stable workflows. Our print farm management tips and automation pillar covers the “how do you keep it consistent?” side.
Cost driver #1: print time (the biggest lever)
Print time is usually the biggest cost driver because it consumes the one thing you can’t buy cheaply: available machine hours. Two parts that weigh the same can have completely different print times based on wall count, infill strategy, and supports.
How to reduce print time without breaking the part
- Use ribs instead of thick walls: a thinner shell plus ribs is often stiffer than a thick “solid” wall and prints faster.
- Stop over-infill: most functional parts don’t need 60% infill. Geometry and wall strategy do more than infill percentage.
- Choose the right nozzle strategy: some parts are cheaper with a larger nozzle/layer height even if material use is similar.
- Split geometry strategically: two fast prints can be cheaper than one slow print with supports and high failure risk.
Cost driver #2: supports (and the labor they create)
Supports are expensive twice: they add print time and they add labor. They can also drive scrap when removal damages surfaces or when supports fail mid-job.
Support-reduction moves that usually pay off
- Add chamfers instead of sharp overhangs: a 45° chamfer is often “free” compared to a supported overhang.
- Change orientation: rotate so critical faces are on top/side, not on support interfaces.
- Design in flat landing pads: give the part a stable “print stance” that avoids teetering and reduces support.
- Bridge with intention: short bridges are cheap; long bridges become risk.
Cost driver #3: material choice (not just $/kg)
Material price matters, but what usually matters more is how the material behaves in production:
- Warping risk (and how often you have to rerun a job)
- Dryness requirements (TPU, nylon blends, some PETG)
- Temperature requirements (ASA and other high-temp materials increase heater load and can reduce throughput)
- Post-processing expectations (sanding/painting different polymers can be more work)
It’s common to see a “cheaper” polymer become more expensive on the quote because it increases scrap or slows cycle time.
For general material reference and specs, vendors like Polymaker publish helpful guidance and datasheets.
Cost driver #4: tolerance and “fit-critical” requirements
When a part must fit something else, you’re no longer buying “a print,” you’re buying a controlled process. Fit-critical jobs often include:
- First-article checks before committing a full batch
- Process locking (same profile/versioning, same orientation)
- More inspection and sometimes more rework
The fastest way to lower cost here is clarity: tell your print partner what actually matters. “Everything must be perfect” is expensive. “These two holes must be within X” is manageable.
Cost driver #5: surface finish and cosmetics
Cosmetic requirements can dominate cost because they add hands-on time. A few examples:
- Support scars on visible faces require sanding/filling.
- “No layer lines” is usually a finishing job, not a printing job.
- Color matching can require dedicated spools and process discipline.
If you want to reduce cost, decide what “good enough” means: hidden surfaces can be functional-grade, while customer-facing surfaces get the attention.
Cost driver #6: quantity and repeatability (one-off vs production)
Most people think quantity only affects cost because you “buy more material.” In production, quantity affects cost because it changes the workflow:
- Batch planning: how many fit per plate, how many plates, and how you schedule the run.
- Changeovers: switching materials/plates/profiles costs time.
- Packaging and kitting: counting, labeling, bagging, and boxing can be a real labor line item.
If you’re ordering hundreds or thousands, you want a partner who is built for repeatability. That’s the difference between “a shop with printers” and a provider focused on high-volume 3D printing services.
Cost driver #7: risk (the hidden multiplier)
Risk is what turns a “cheap” part into an expensive quote. Tall skinny parts that can tip. Large flat parts that warp. Thin features that snap during support removal. Tight tolerances on a material that shrinks unpredictably. If the job is likely to fail, a production shop has to price that reality.
The best way to reduce risk is to collaborate early. A 5-minute DFM tweak can save a week of reruns.
A quick optimization checklist you can use before requesting a quote
- Tell us the function: what does the part do, and what can be flexible?
- Mark critical dimensions: 2–5 key dimensions beats “hold everything.”
- Say what surfaces are visible: cosmetic focus should be targeted.
- Call out load/heat/UV: drives material choice and enclosure strategy.
- Share quantity and cadence: one run vs recurring reorders changes the process.
Want a faster, cleaner quote?
If you send us your files with a short note on function, quantity, and what’s actually critical, we can usually steer you toward the cheapest stable process instead of the cheapest “maybe it works” print.
Submit your project to the farm via our intake form, or get an instant quote for many common jobs.