How to Print Clear/Translucent Filament So It Actually Looks Translucent
How to Print Clear/Translucent Filament So It Actually Looks Translucent
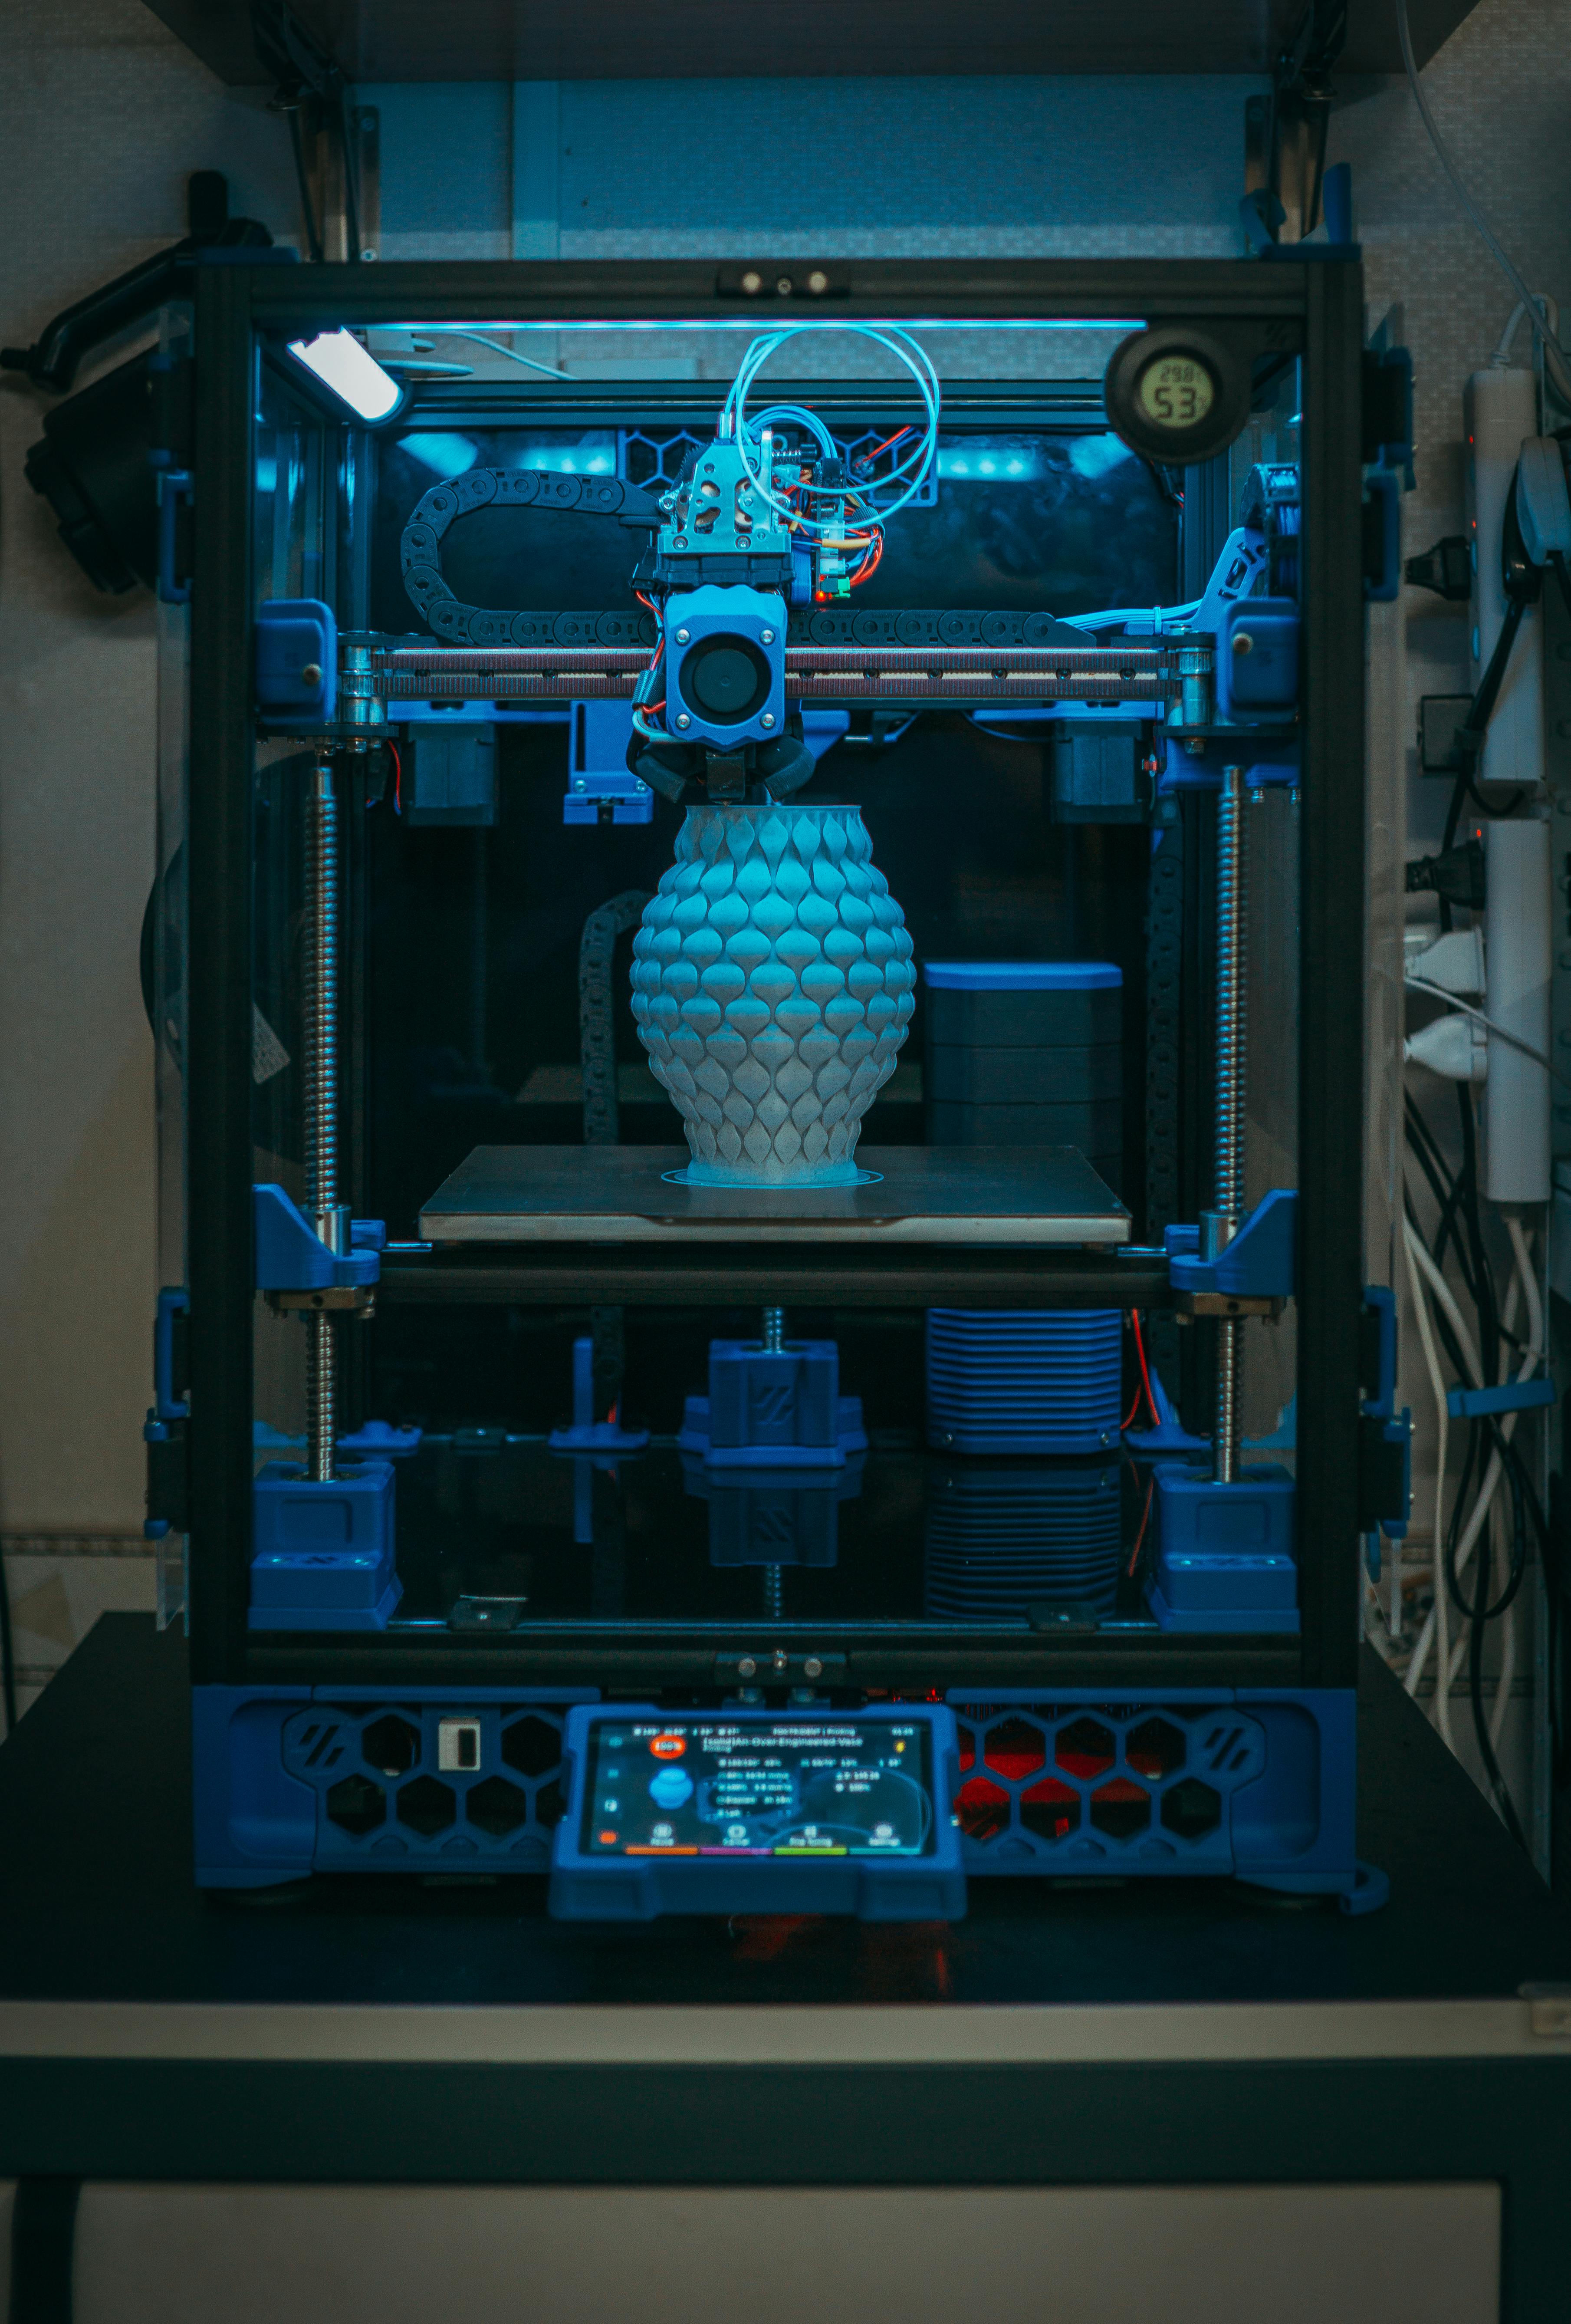
If you’ve ever bought “clear” filament and ended up with a cloudy, frosted part… welcome to the club. Most clear FDM prints look hazy for a simple reason: the print is full of tiny interfaces where light scatters—layer lines, micro-gaps, seams, infill edges, and sometimes even micro-bubbles from wet filament.
At JCSFY we run a Large-Scale Production 3D Print Farm with 85+ printers, which means we’ve seen every flavor of “why is my clear PETG not clear?” The fix isn’t magic. It’s controlling surface roughness and internal voids, then choosing the right finishing method for the material.
This guide is written for people who want usable translucency (light pipes, windows, covers, indicators)—not just “kinda clear if you squint.”
First: set expectations (transparent vs translucent vs “clear-ish”)
FDM rarely produces glass-like transparency straight off the printer. What you can reliably get:
- Translucent: light passes through, details are blurry. Very achievable.
- Clear-ish: you can see shapes behind it in good lighting, but it’s not optically clean.
- Truly clear: usually requires post-processing (sanding/polish/coating) or a different process/material.
If you need true optics (lenses, crisp readability through the part), you’ll often be better off with a different manufacturing method. But for functional covers and indicators, FDM can do great results.
Why clear filament turns cloudy
Clear plastics aren’t “clear” because of color—they’re clear because light travels through them with minimal scattering. FDM prints create scattering in a few predictable ways:
- Layer lines: each layer boundary is a tiny refractive surface.
- Micro-gaps: under-extrusion, poor fusion, or low temperature creates tiny air pockets that scatter light aggressively.
- Infill structure: infill edges and pattern transitions scatter light internally.
- Seams: a seam line is essentially a ridge of surface defects.
- Moisture: wet filament can create micro-bubbles and surface pitting.
Your job is to reduce those scatter sources—either by printing “hot and fused” or by smoothing the surfaces afterward.
Material choice: which “clear” filaments behave best
For FDM translucency, we usually reach for clear PETG first. It tends to fuse well and can look very good with the right settings. Clear PLA can work too, but it’s often more “frosted” unless you’re very deliberate.
Two practical notes:
- “Natural” or “crystal clear” variants differ: some “transparent” filaments have additives that change haze. Don’t assume all “clear” spools behave the same.
- Dryness matters more than you think: if you want translucency, treat moisture as a first-class problem.
Example of a purpose-built clear PLA: Fillamentum PLA Crystal Clear (useful reference for what “clear” filaments aim for).
Print settings that actually increase translucency
The goal is simple: fuse layers aggressively and avoid voids. Here are the levers that consistently matter.
1) Print hotter (within reason)
Running at the high end of the filament’s recommended range helps layers fuse and reduces micro-gaps. Too cold = weak fusion = haze. Too hot = strings, blobs, burnt residue. You want “hot enough to fuse cleanly.”
2) Slow down
Translucency rewards slow, consistent extrusion. Fast prints tend to trap defects and create inconsistent line bonding.
3) Use thicker layers and wider lines (counterintuitive, but real)
Many people assume “thin layers = clear.” In practice, thin layers create more layer interfaces (more scattering). A more reliable approach for translucency is:
- Layer height: relatively thick for your nozzle (e.g., ~70–90% of nozzle diameter when appropriate)
- Line width: slightly wider than nozzle size to encourage overlap and fusion
This reduces the number of interfaces and helps the part behave more like one continuous medium.
4) Reduce cooling
More cooling can freeze lines before they properly fuse. For translucent prints, we often run reduced fan (or off for certain geometries/materials) to improve bonding—while watching for sagging/overhang issues.
5) Control seams
Seams are visual defects and light-scatter defects. Put seams somewhere you can hide them (a back edge, a corner, a non-optical face) instead of letting the slicer randomize them across a viewing face.
6) Think hard about infill
Infill is internal geometry, and internal geometry scatters light. You have a few options depending on the part:
- Hollow (best for “window” parts): design it as a shell with air behind it.
- Solid (best for light pipes): use high infill and stable extrusion so internal voids are minimized.
- Avoid “busy” patterns: complex infill patterns can look ugly through translucent walls.
There isn’t one universal “best” infill for clarity—there’s a best choice for your use case.
Orientation and geometry: you can’t polish your way out of a bad design
Two parts printed with the same settings can look very different based on orientation:
- Put the viewing face on the smoothest surface: a smooth plate can produce a much clearer face than a stepped, layer-line face.
- Avoid supports on optical faces: support scars are haze factories. If a face needs to look clear, orient to avoid supports there.
- Use gentle curves: sharp corners and tiny features add visual noise in translucent parts.
Post-processing: how to get from “cloudy” to “actually translucent”
If you need the part to look good in hand (not just “good from 10 feet”), you usually need finishing. The two most reliable approaches are sanding/polish and coating.
Option A: wet sand + polish (time, but strong results)
- Start: 400–600 grit wet sanding to knock down layer lines.
- Step up: 800 → 1000 → 1500 → 2000 grit (still wet).
- Polish: plastic polish compound or fine buffing compound.
Wet sanding matters because it keeps heat down and prevents “gummy” plastic smears. Expect time—this is labor.
Option B: clear coating (fast “wow” factor)
A clear coat can fill micro-scratches and make parts look dramatically clearer quickly. Options include:
- Clear acrylic spray: quick, easy, less durable.
- Clear epoxy/resin coat: best optical improvement, but adds thickness and requires careful application.
If the part is fit-critical, remember: coatings change dimensions.
Option C: solvent smoothing (only for certain materials)
Solvent smoothing can create a glossy surface (which increases apparent clarity), but it is material-specific and must be handled safely. If you’re not experienced with it, don’t make your first attempt on an important part.
A simple “recipe” we’ve seen work for translucent PETG
Use this as a starting point, not a promise:
- Dry the spool before printing
- Higher nozzle temp (upper end of the range)
- Slower speeds for consistent fusion
- Reduced cooling (as low as your overhangs allow)
- Thicker layers / wider lines to reduce interfaces
- Seam placement away from the viewing face
BCN3D’s support notes are a good general reference for translucent filament behavior and tuning direction: Translucent filaments tips (BCN3D Support).
Production reality: clarity is a cost driver
In a production environment, “make it clearer” usually means one of two things: slower printing (more machine time) or more finishing (more labor). That’s why we treat translucency requirements like a spec: we decide what “good enough” looks like and build a repeatable process around it.
If you’re running these parts at scale, operational discipline matters—batching, drying, profile control, and consistent finishing. That’s exactly the kind of system we cover in print farm management tips and automation, and it’s also why customers lean on high-volume 3D printing services when repeatability matters.
Need translucent parts that look right (and ship consistently)?
If you’re trying to ship a product with translucent windows, light guides, covers, or indicators, we can help you choose the right material and dial in a repeatable process (including finishing) so your parts look the same from batch to batch.
Send your files and requirements through our intake form, or get an instant quote for many common jobs.